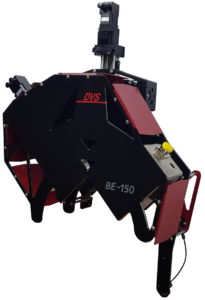
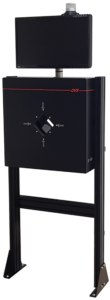
DVS supplies systems for surface inspection in many areas worldwide.
The systems are used in cable, plastic pipe and hose production, in the metal sector for steel and stainless steel pipes, rods and pins as well as for the inspection of unchromed and chrome-plated pressure cylinders.
Then there is a whole range of applications for checking / inspecting / testing and sorting a variety of individual parts such as sleeves, bolts and parts with divergent shapes.
These systems are configured according to the requirements of the specific application in terms of hardware and software. Where possible and at the customer’s request, the systems are integrated into a line or special automatic testing machines are supplied.
Several examples of parts that are tested are shown under application examples.
The most important features of the systems:
- Continuous inline inspection of 100% of the surface
- Detectable defect sizes in the µ range
- Different defect types can be parameterised
- Integration into the production process or automatic testing machine
- Inspection parameters can be defined for different products
- Optimisation to customer-specific hardware and software requirements
Documentation of results for e.g. quality reports according to customer requirements
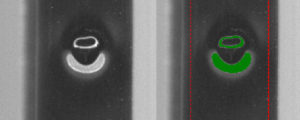
Cable (Ø 5mm): bubble
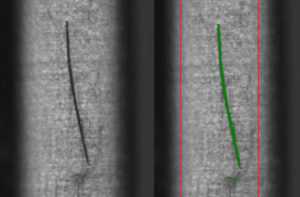
Metal sleeve: (Ø 4mm): Scratches
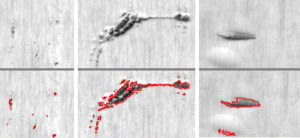
Bright steel (Ø 30-60mm): Chrome defects, cracks and dents
Error types
The different types of defects that are found:
- Cracks, drawing marks, scratches
- Blowholes, inclusions
- Bubbles or other protrusions
- Burrs
- Chrome pores/chrome defects
- Defective machining surfaces (faulty grinding)
- Pressure marks, etc.
![]() Surface inspection non-rotating parts
Surface inspection non-rotating parts
![]() Surface inspection rotating parts
Surface inspection rotating parts
Areas of application
- Pipes made of different materials
- Cable
- Extrusion processes
- Round steel (bright steel)
- Pods
- Bolts
- Pencils
- Rod

